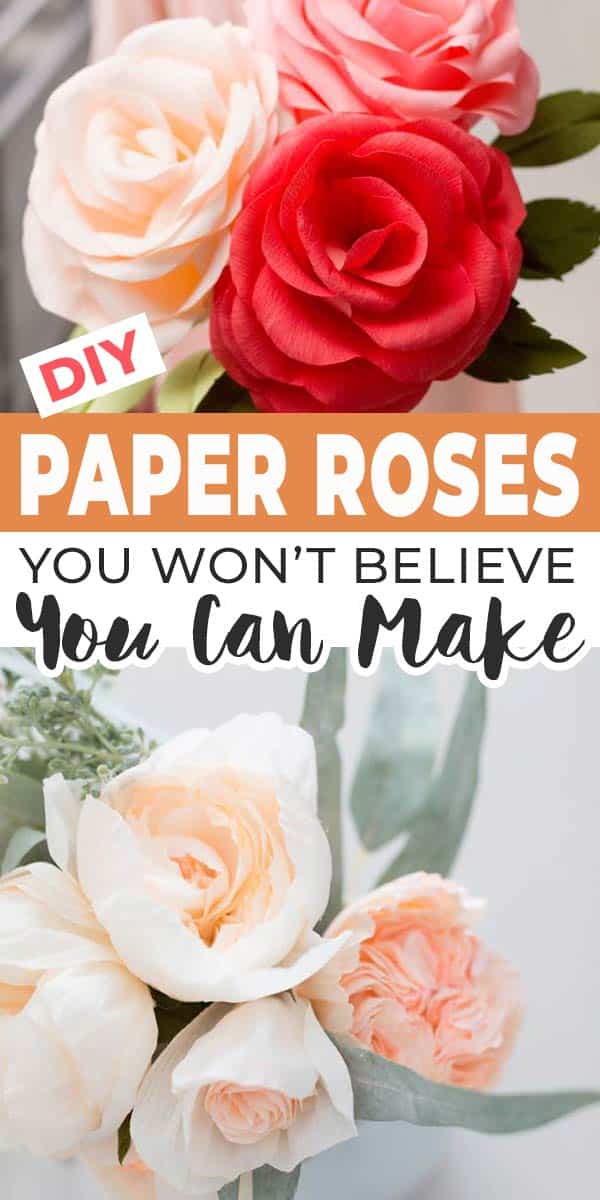
How To Make Paper Roses: A Step-by-Step Guide For Beginners
Ever wondered how to craft those beautiful paper roses you see in DIY projects? Well, buckle up because today we’re diving deep into the world of paper flower art. Creating paper roses might sound tricky at first, but trust me, with the right steps and a little patience, you’ll be crafting like a pro in no time. This guide will walk you through everything you need to know about making stunning paper roses that’ll impress your friends and family.
Whether you’re looking to decorate your home, create unique gifts, or simply explore a new hobby, learning how to make paper roses is a fantastic skill to have. These delicate creations can add a touch of elegance to any setting, and the best part? They don’t wilt or fade like real flowers!
In this article, we’ll cover everything from the basic materials you’ll need to advanced techniques that’ll take your paper roses to the next level. So grab your supplies, and let’s get started on this creative journey!
Here’s a quick table of contents to help you navigate:
- Materials You’ll Need
- Basic Techniques to Master
- Step-by-Step Guide to Making Paper Roses
- Customizing Your Roses
- Troubleshooting Common Issues
- Advanced Techniques for Pro Results
- Creative Ways to Display Your Paper Roses
- Tips for Perfecting Your Craft
- Frequently Asked Questions
- Wrapping It Up
Materials You’ll Need
Before you start crafting, it’s essential to gather all the necessary materials. Here’s a list of what you’ll need to create beautiful paper roses:
- Colored paper (you can use tissue paper, crepe paper, or even printer paper)
- Scissors (preferably small and sharp for precision)
- Glue (a glue stick or hot glue gun works best)
- Wire or pipe cleaners (optional, for stem support)
- Green tape (for wrapping the stems)
- A pencil or pen (for shaping the petals)
These materials are easy to find and won’t break the bank. Plus, they’re versatile, so you can experiment with different colors and textures to create unique roses.
Basic Techniques to Master
Now that you’ve got your materials ready, it’s time to learn some basic techniques that’ll help you craft perfect paper roses. Here are a few tips to keep in mind:
Cutting the Petals: Use a template or freehand to cut out petal shapes from your paper. Start with larger petals for the outer layer and gradually decrease the size for the inner layers.
Shaping the Petals: Gently curl each petal around a pencil or pen to give it a realistic look. This step is crucial for creating that natural rose-like curve.
Assembling the Rose: Begin with the smallest petal in the center and gradually add larger petals around it. Use a small amount of glue to secure each layer.
Why These Techniques Matter
Mastering these basic techniques will set the foundation for your paper rose crafting journey. They might seem simple, but they’re the key to creating roses that look lifelike and beautiful.
Step-by-Step Guide to Making Paper Roses
Now that you’ve got the basics down, let’s dive into a step-by-step guide to making your first paper rose:
- Cut out petal shapes from your chosen paper. You’ll need about 10-12 petals of varying sizes.
- Curl each petal around a pencil to shape it. This will give your rose that natural, flowing look.
- Take the smallest petal and wrap it around the tip of a wire or pipe cleaner to form the center of the rose.
- Add larger petals around the center, securing them with glue as you go. Make sure to stagger the petals for a more realistic appearance.
- Continue adding layers of petals until you’ve achieved the desired size and shape.
- Wrap the stem with green tape to finish off your rose.
Following these steps will help you create a beautiful paper rose that’ll look amazing in any setting.
Tips for Success
Here are a few tips to ensure your roses turn out perfectly:
- Take your time with each step. Rushing can lead to mistakes that’ll affect the final result.
- Experiment with different paper textures and colors to create unique roses.
- Don’t be afraid to make mistakes. Practice makes perfect, and every rose you create will teach you something new.
Customizing Your Roses
Once you’ve mastered the basics, it’s time to get creative and customize your roses. Here are a few ideas to inspire you:
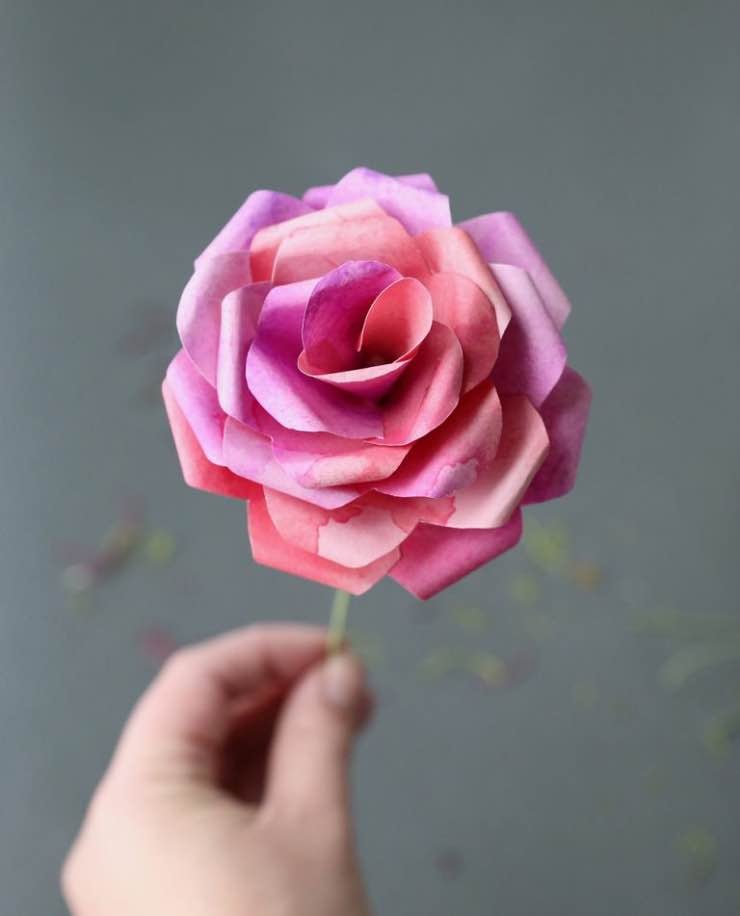
- Try using different colors for each layer of petals to create an ombre effect.
- Add glitter or paint to your roses for a touch of sparkle.
- Experiment with different paper types, such as tissue paper for a softer look or crepe paper for a more textured appearance.
Customizing your roses is a great way to make them truly unique and personal. Let your creativity run wild and see what amazing creations you can come up with!
Why Customization Matters
Customizing your roses allows you to express your personal style and make each creation one-of-a-kind. Whether you’re crafting for yourself or giving them as gifts, adding your own touch will make them even more special.
Troubleshooting Common Issues
Even the most experienced crafters run into issues from time to time. Here are a few common problems you might encounter and how to solve them:
- Petals falling off: Make sure you’re using enough glue to secure each layer. A glue stick or hot glue gun works best for this.
- Roses looking flat: Curl each petal more aggressively to add dimension and depth to your rose.
- Uneven layers: Take your time when adding each layer, ensuring that the petals are staggered and evenly spaced.
Don’t get discouraged if things don’t go perfectly the first time. With practice, you’ll become more skilled and confident in your crafting abilities.
Learning from Mistakes
Mistakes are a natural part of the learning process. Instead of getting frustrated, use them as opportunities to improve your skills. Every rose you create is a step forward in your journey to becoming a master paper rose crafter.
Advanced Techniques for Pro Results
Ready to take your paper rose crafting to the next level? Here are a few advanced techniques to try:
- Layered petals: Cut out additional layers of petals and stack them for a fuller, more realistic look.
- Textured paper: Use embossed or textured paper to add depth and interest to your roses.
- Wire detailing: Add small wires to the edges of your petals for extra support and detail.
These advanced techniques will help you create roses that look professional and stunning. With a little practice, you’ll be crafting like a pro in no time!
Perfecting Your Craft
Mastering advanced techniques takes time and practice, but the results are well worth the effort. Keep experimenting and pushing your limits to become a true paper rose expert.
Creative Ways to Display Your Paper Roses
Once you’ve crafted your beautiful paper roses, it’s time to think about how to display them. Here are a few creative ideas:
- Create a bouquet and place it in a vase for a stunning centerpiece.
- Hang your roses from the ceiling or walls for a whimsical touch.
- Use them to decorate cards, invitations, or gift boxes.
The possibilities are endless when it comes to displaying your paper roses. Get creative and find ways to incorporate them into your everyday life.
Enhancing Your Space
Paper roses can add a touch of elegance and beauty to any space. Whether you’re decorating for a special occasion or simply adding some charm to your home, these creations are sure to impress.
Tips for Perfecting Your Craft
Here are a few final tips to help you perfect your paper rose crafting skills:
- Practice regularly to improve your technique and speed.
- Join online crafting communities to share ideas and learn from others.
- Invest in quality tools and materials to make the crafting process easier and more enjoyable.
By following these tips, you’ll be well on your way to becoming a skilled paper rose crafter. Keep pushing yourself to learn and grow, and you’ll be amazed at what you can achieve!
Frequently Asked Questions
Here are some common questions about making paper roses:
- What type of paper is best for making roses? Crepe paper and tissue paper are popular choices because they’re lightweight and easy to shape.
- Can I use regular printer paper? Yes, but it might not be as soft or flexible as other options.
- How long do paper roses last? With proper care, they can last indefinitely!
These FAQs should help answer any questions you might have about crafting paper roses. If you have more questions, feel free to leave a comment below!
Wrapping It Up
Making paper roses is a fun and rewarding hobby that anyone can enjoy. From gathering materials to mastering advanced techniques, this guide has provided you with all the information you need to create stunning roses that’ll impress everyone who sees them.
Remember, practice makes perfect, so don’t be afraid to experiment and make mistakes. Every rose you create is a step forward in your journey to becoming a skilled crafter. So grab your supplies, roll up your sleeves, and start crafting those beautiful paper roses today!
Don’t forget to share your creations with us in the comments below, and check out our other articles for more crafting inspiration. Happy crafting!
- Vegamovies More Your Guide To Bollywood Streaming Watch Now
- Movierulz 2025 Latest Updates Downloads Reviews

Comment faire des roses en papier
Comment faire des roses en papier Ancolie Paris Deco
Comment faire des roses en papier Ancolie Paris Deco
