Homemade Panini Bread Recipe: A Delightful Treat For Every Sandwich Lover
Nothing beats the aroma of freshly baked bread wafting through your kitchen. And if you're a fan of paninis, then learning how to make panini bread at home is like unlocking a treasure chest of flavor. Recette du pain a panini—or the recipe for panini bread—is not just about making a sandwich; it’s about creating an experience. So, grab your apron, because we’re diving into the world of homemade panini bread.
Let’s face it, store-bought bread can be okay, but there’s something magical about crafting your own loaf. Plus, when you make panini bread from scratch, you control the ingredients, the texture, and even the crustiness level. This is your chance to elevate your lunch game, folks.
Now, if you’re wondering why homemade panini bread matters, here’s the deal: it’s healthier, tastier, and honestly, it just feels more satisfying. Plus, who doesn’t love the idea of impressing friends and family with a homemade masterpiece? Let’s get started, shall we?
Why Should You Try This Panini Bread Recipe?
First things first, why bother with homemade panini bread when you can just grab a loaf from the store? Well, because this recipe is a game-changer, my friend. Making your own bread means no preservatives, no weird additives, and the freedom to add in whatever flavors you love. Plus, it’s super easy once you get the hang of it.
Here’s the kicker: homemade panini bread tastes better. Like, way better. The crust gets perfectly golden, the inside stays soft and chewy, and you can adjust the thickness to your liking. Whether you’re making a classic ham and cheese panini or going wild with exotic fillings, this bread will be the star of the show.
And let’s not forget the satisfaction factor. There’s nothing quite like pulling a golden loaf out of the oven and knowing you made it yourself. So, are you ready to take your sandwich game to the next level?
What You Need to Get Started
Before we dive into the recipe, let’s talk about the tools and ingredients you’ll need. Don’t worry, nothing fancy here—just your basic baking essentials.
Tools You’ll Need
- A mixing bowl (preferably large)
- A wooden spoon or silicone spatula
- A rolling pin (optional but helpful)
- A baking sheet or pizza stone
- Parchment paper
- A clean kitchen towel
Ingredients for Your Panini Bread
- 3 1/2 cups all-purpose flour
- 1 packet (2 1/4 teaspoons) active dry yeast
- 1 1/4 cups warm water (around 110°F)
- 2 tablespoons olive oil (plus extra for greasing)
- 2 teaspoons salt
- 1 tablespoon sugar (optional, for extra sweetness)
These ingredients might seem simple, but trust me, they pack a punch. Now, let’s talk about the steps.
Step-by-Step Guide to Making Panini Bread
Alright, let’s break it down step by step. This recipe is straightforward, but there are a few tricks to getting that perfect loaf. Follow along, and you’ll be baking like a pro in no time.
Step 1: Activate the Yeast
In a small bowl, mix the warm water with the yeast and a pinch of sugar. Let it sit for about 5-10 minutes until it gets bubbly. This step is crucial because it ensures your yeast is alive and ready to work its magic.
Step 2: Mix the Dough
In a large mixing bowl, combine the flour, salt, and sugar. Make a well in the center and pour in the yeast mixture and olive oil. Mix everything together until you get a shaggy dough. Don’t worry if it looks messy at first—it’ll come together as you knead.
Step 3: Knead the Dough
Turn the dough out onto a floured surface and knead it for about 8-10 minutes. You want it to be smooth and elastic. If it’s too sticky, add a little more flour. If it’s too dry, sprinkle in a bit of water. It’s all about finding the right balance.
Step 4: Let It Rise
Grease a clean bowl with olive oil and place the dough inside. Cover it with a kitchen towel and let it rise in a warm, draft-free spot for about an hour. You’ll know it’s ready when it’s doubled in size.
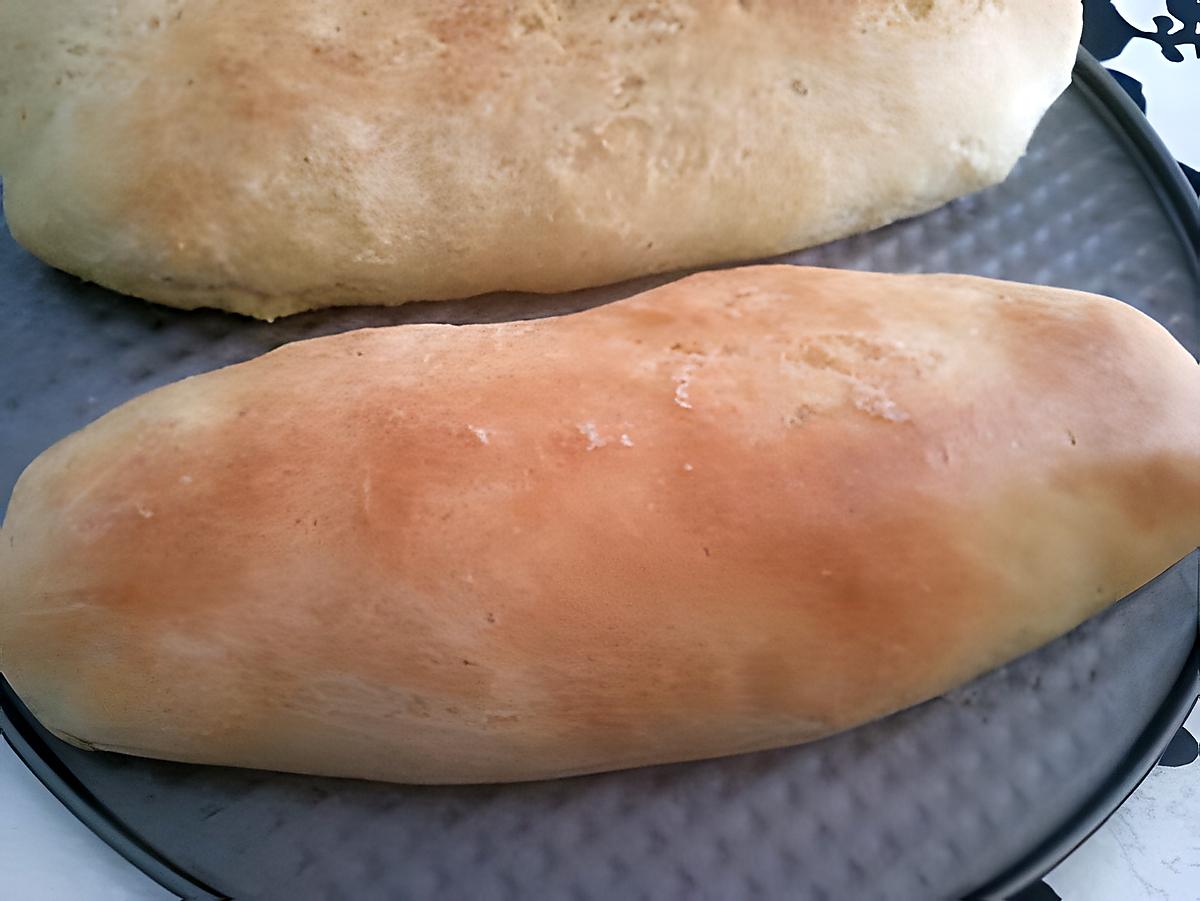
Step 5: Shape the Loaf
Once the dough has risen, punch it down to release the air. Divide it into equal portions (depending on how many loaves you want) and shape them into oblong shapes. Place them on a baking sheet lined with parchment paper.
Step 6: Let It Rise Again
Cover the shaped loaves with a towel and let them rise for another 30 minutes. This second rise gives the bread a lighter texture.
Step 7: Bake the Bread
Preheat your oven to 400°F (200°C). Brush the tops of the loaves with a little olive oil and bake for 20-25 minutes, or until they’re golden brown and sound hollow when tapped.
Step 8: Cool and Slice
Let the bread cool on a wire rack before slicing. This step is important because cutting into warm bread can make it gummy. Once it’s cooled, slice it into thick or thin slices, depending on your preference.
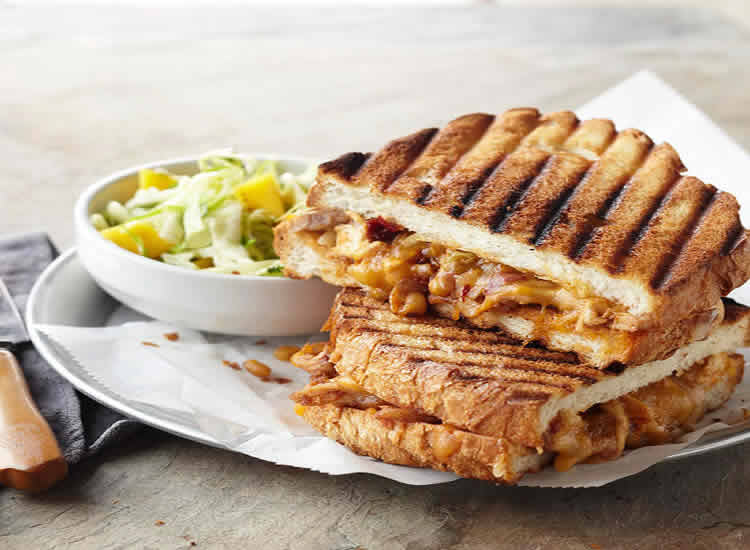
And there you have it—homemade panini bread that’s ready to be filled with all your favorite ingredients.
Tips for Perfect Panini Bread
Now that you know the basics, here are a few tips to take your panini bread to the next level:
- Use high-quality flour for better texture.
- Don’t skip the kneading step—it’s what gives the bread its structure.
- Experiment with add-ins like herbs, garlic, or cheese for extra flavor.
- Make sure your yeast is fresh and active before starting.
- Let the bread cool completely before slicing for the best results.
These tips might seem small, but they can make a big difference in the final product. Trust me, your taste buds will thank you.
Common Mistakes to Avoid
Even the best bakers make mistakes sometimes. Here are a few pitfalls to watch out for:
- Using water that’s too hot or too cold—this can kill the yeast.
- Not letting the dough rise long enough—this can lead to dense bread.
- Over-kneading the dough—this can make it tough.
- Cutting into the bread too soon—this can ruin the texture.
By avoiding these common mistakes, you’ll be well on your way to baking perfect panini bread every time.
Variations on the Classic Panini Bread
Once you’ve mastered the basic recipe, feel free to experiment with different variations. Here are a few ideas to get you started:
Herbed Panini Bread
Add a tablespoon of dried herbs like rosemary, thyme, or oregano to the dough for a savory twist.
Garlic Panini Bread
Mix in minced garlic and a sprinkle of garlic powder for a deliciously aromatic loaf.
Cheese-Stuffed Panini Bread
Fold in shredded cheese like cheddar, mozzarella, or Parmesan for a cheesy delight.
The possibilities are endless, so don’t be afraid to get creative!
Healthier Options for Panini Bread
If you’re looking to make your panini bread a little healthier, here are a few substitutions you can try:
- Use whole wheat flour instead of all-purpose flour for added fiber.
- Replace some of the olive oil with applesauce for a lower-fat option.
- Add flaxseed or chia seeds for an extra nutritional boost.
These tweaks can make your panini bread not only delicious but also a bit healthier without sacrificing taste.
How to Store Your Panini Bread
Once you’ve baked your bread, proper storage is key to keeping it fresh. Here’s what you need to know:
- Store the bread in an airtight container or bread box at room temperature for up to 3 days.
- For longer storage, wrap the bread tightly in plastic wrap and freeze it for up to 3 months.
- Thaw frozen bread at room temperature or reheat it in the oven for a few minutes.
With these storage tips, you’ll always have fresh panini bread on hand whenever the mood strikes.
Conclusion: Elevate Your Sandwich Game
Making homemade panini bread might seem intimidating at first, but with this recipe, you’ll be baking like a pro in no time. Whether you’re a seasoned baker or a complete beginner, recette du pain a panini is a recipe worth trying. The aroma, the taste, and the satisfaction of making something from scratch are truly unmatched.
So, why not give it a shot? Grab your ingredients, follow the steps, and get ready to enjoy some of the best panini bread you’ve ever had. And don’t forget to share your creations with friends and family—they’ll love it!
Until next time, happy baking, and keep those kitchen adventures going!
Table of Contents
- Why Should You Try This Panini Bread Recipe?
- What You Need to Get Started
- Step-by-Step Guide to Making Panini Bread
- Tips for Perfect Panini Bread
- Common Mistakes to Avoid
- Variations on the Classic Panini Bread
- Healthier Options for Panini Bread
- How to Store Your Panini Bread
- Conclusion: Elevate Your Sandwich Game
Pain panini du ftour recette pour sandwich ftour ramadan

Recette de Pain pour panini par Somphet
Recette de Pain pour panini
