How To Master The Art Of Drawing A Paper Airplane: A Fun And Easy Guide
Who hasn’t tried making a paper airplane at least once in their life? Whether you're a kid or an adult, the charm of folding a simple piece of paper into a flying machine never gets old. And if you’re here, chances are you want to take your paper airplane game to the next level by learning how to draw one. Drawing a paper airplane, or "avion en papier dessin" as they say in French, is not just about creating a pretty picture; it's about capturing the essence of simplicity and creativity. So, buckle up, because we’re about to take off into the world of paper airplane art!
You might be thinking, "Why bother learning how to draw a paper airplane when I can just fold one?" Well, my friend, drawing a paper airplane is more than just putting lines on paper. It’s about understanding the anatomy of this tiny flying object, its aerodynamics, and how it can inspire your artistic skills. Plus, it’s a fun way to express yourself and maybe even teach others how to do it.
Before we dive into the nitty-gritty details, let’s set the scene. Imagine yourself sitting by a sunny window, pencil in hand, ready to bring a paper airplane to life on paper. This guide will walk you through every step, from basic shapes to adding those cool details that make your drawing pop. So, whether you’re a beginner or looking to refine your skills, this is the perfect place to start. Now, let’s get our creative engines running!
Understanding the Basics of Drawing a Paper Airplane
What Makes a Paper Airplane Unique?
When you think about drawing a paper airplane, it’s important to first understand what makes it so special. Unlike other objects, a paper airplane has a distinct shape that’s both simple and functional. Its design is all about balance and aerodynamics, which means every fold and crease serves a purpose. When you draw one, you’re not just replicating a shape; you’re capturing the spirit of flight in a single piece of paper.
Here’s a quick rundown of what makes a paper airplane unique:
- It’s lightweight yet strong enough to glide through the air.
- Its wings are symmetrical, ensuring smooth flight.
- It’s made from a single sheet of paper, making it eco-friendly and easy to create.
These characteristics should guide your drawing process, helping you focus on the key elements that define a paper airplane.
Materials You’ll Need to Start Drawing
Choosing the Right Tools for Your Art
Now that you know what makes a paper airplane unique, it’s time to gather your tools. You don’t need anything fancy to get started, but having the right materials can make a big difference in the quality of your drawing. Here’s what you’ll need:
- A good quality pencil – something with a medium lead works best.
- An eraser – because mistakes happen, and that’s okay!
- A ruler – optional, but useful for keeping your lines straight.
- A clean sheet of paper – no need for anything fancy, just something smooth to draw on.
Remember, the goal here isn’t perfection; it’s about enjoying the process and improving your skills over time. So, don’t stress too much about having the "perfect" tools – just use what you have and let your creativity flow.
Step-by-Step Guide to Drawing a Paper Airplane
Starting with the Basic Shape
Alright, let’s get down to business. The first step in drawing a paper airplane is to create the basic shape. Start by sketching a rectangle – this will represent the body of the airplane. Make sure it’s proportionate, meaning the length should be longer than the width. Think of it like a piece of paper before you fold it into an airplane.
Once you’ve got your rectangle down, it’s time to add the wings. Draw two straight lines extending from the top of the rectangle, making sure they’re the same length and angle. These lines will form the wings of your airplane. Keep them symmetrical – remember, balance is key!
Now, take a moment to step back and assess your work. Does it look like a paper airplane? If not, don’t worry – this is just the foundation. We’ll add more details in the next steps.
Adding Details to Your Paper Airplane Drawing
Enhancing the Realism of Your Art
Once you’ve got the basic shape down, it’s time to add some flair. Start by refining the wings. Instead of straight lines, try giving them a slight curve to mimic the natural bend of a folded paper airplane. You can also add small creases along the edges to give it a more realistic look.
Next, focus on the body of the airplane. Add a small triangular section at the bottom to represent the folded tip. This detail might seem small, but it makes a big difference in how realistic your drawing looks. You can also add shading to create depth and dimension, making your paper airplane pop off the page.
Don’t forget about the tail! While not all paper airplanes have a tail, adding one can give your drawing a unique touch. Sketch a small rectangle at the back of the airplane, connecting it to the wings. This adds an extra layer of detail that will impress anyone who sees your artwork.
Exploring Different Styles of Paper Airplane Drawings
From Realistic to Cartoonish: Finding Your Style
Now that you’ve mastered the basics, it’s time to explore different styles of paper airplane drawings. Do you prefer a realistic approach, where every detail is carefully rendered? Or are you more into a cartoonish style, where the airplane looks playful and fun? The choice is yours, and there’s no right or wrong answer.
If you’re going for a realistic look, pay close attention to proportions and shading. Use reference images to guide your drawing, and don’t be afraid to experiment with different techniques. On the other hand, if you want to go cartoonish, feel free to exaggerate certain features – like making the wings extra large or adding a smiley face to the body.
Remember, the beauty of art is that it allows you to express yourself in unique ways. So, have fun and let your creativity soar!
Advanced Techniques for Drawing Paper Airplanes
Taking Your Skills to the Next Level
Once you’ve gotten comfortable with the basics, it’s time to challenge yourself with some advanced techniques. One way to elevate your paper airplane drawings is by experimenting with perspective. Try drawing the airplane from different angles – from above, below, or even in mid-flight. This will give your artwork a dynamic feel and show off your skills.
Another technique to consider is adding texture. Instead of smooth lines, try using hatching or cross-hatching to create the illusion of folded paper. This adds depth and realism to your drawing, making it stand out even more. You can also play around with color, using shading and highlights to bring your paper airplane to life.
Lastly, don’t be afraid to mix media. Combine pencil sketches with ink or watercolor to create a unique and eye-catching piece of art. The possibilities are endless, so let your imagination take flight!
Common Mistakes to Avoid When Drawing Paper Airplanes
Learning from Others’ Mistakes
As with any skill, there are common mistakes you might encounter when learning how to draw a paper airplane. One of the biggest mistakes is rushing through the process. Take your time with each step, ensuring that every line and detail is intentional. Another mistake is neglecting symmetry – remember, a paper airplane’s wings should be balanced to ensure smooth flight.
Some people also forget to add those small details that make a drawing look realistic. Don’t skip over the creases, shading, or other elements that give your paper airplane character. And finally, don’t be afraid to erase and start over if something doesn’t look quite right. Practice makes perfect, and every mistake is an opportunity to learn and grow.
Tips for Perfecting Your Paper Airplane Drawing
Honing Your Skills and Building Confidence
Now that you know the common mistakes to avoid, let’s talk about how to perfect your paper airplane drawing skills. Practice is key, so set aside time each day to work on your art. Start with simple shapes and gradually move on to more complex designs as you become more comfortable.
Another tip is to study real paper airplanes. Take a close look at their structure, paying attention to how the folds and creases create its unique shape. You can even try folding a paper airplane yourself to better understand its anatomy. This hands-on experience will give you a deeper appreciation for the art of drawing paper airplanes.
Lastly, don’t forget to have fun! Art is all about self-expression, so let your personality shine through in your drawings. Whether you’re creating a realistic masterpiece or a whimsical cartoon, the most important thing is to enjoy the process.
Inspiration and Ideas for Your Paper Airplane Art
Let Your Creativity Take Flight
If you’re looking for inspiration, there are plenty of resources available to help you take your paper airplane art to the next level. Check out online tutorials, art books, and even social media platforms like Instagram and Pinterest for ideas and tips. You can also join art communities where you can share your work and get feedback from other artists.
Another great way to find inspiration is by experimenting with different themes. Try drawing paper airplanes in different settings – flying through a city skyline, soaring over a mountain range, or even floating in outer space. You can also incorporate other elements into your artwork, like clouds, birds, or even other airplanes. The possibilities are endless, so let your imagination run wild!
Conclusion: Soaring to New Heights with Your Paper Airplane Art
And there you have it – a comprehensive guide to drawing a paper airplane. From understanding the basics to mastering advanced techniques, you now have all the tools you need to create stunning works of art. Remember, practice is key, so don’t be afraid to keep experimenting and refining your skills.
Before you go, I want to leave you with one final thought: art is all about self-expression, so don’t be afraid to put your own spin on things. Whether you’re drawing a realistic paper airplane or a cartoonish one, the most important thing is to have fun and enjoy the process. So, grab your pencil, find a quiet spot, and let your creativity take flight!
Don’t forget to share your artwork with others – whether it’s on social media or in person. You never know who you might inspire with your passion for paper airplane art. And if you’re hungry for more, check out our other articles on art and creativity. Happy drawing, and see you in the skies!
Table of Contents:
- Understanding the Basics of Drawing a Paper Airplane
- Materials You’ll Need to Start Drawing
- Step-by-Step Guide to Drawing a Paper Airplane
- Adding Details to Your Paper Airplane Drawing
- Exploring Different Styles of Paper Airplane Drawings
- Advanced Techniques for Drawing Paper Airplanes
- Common Mistakes to Avoid When Drawing Paper Airplanes
- Tips for Perfecting Your Paper Airplane Drawing
- Inspiration and Ideas for Your Paper Airplane Art
- Conclusion: Soaring to New Heights with Your Paper Airplane Art
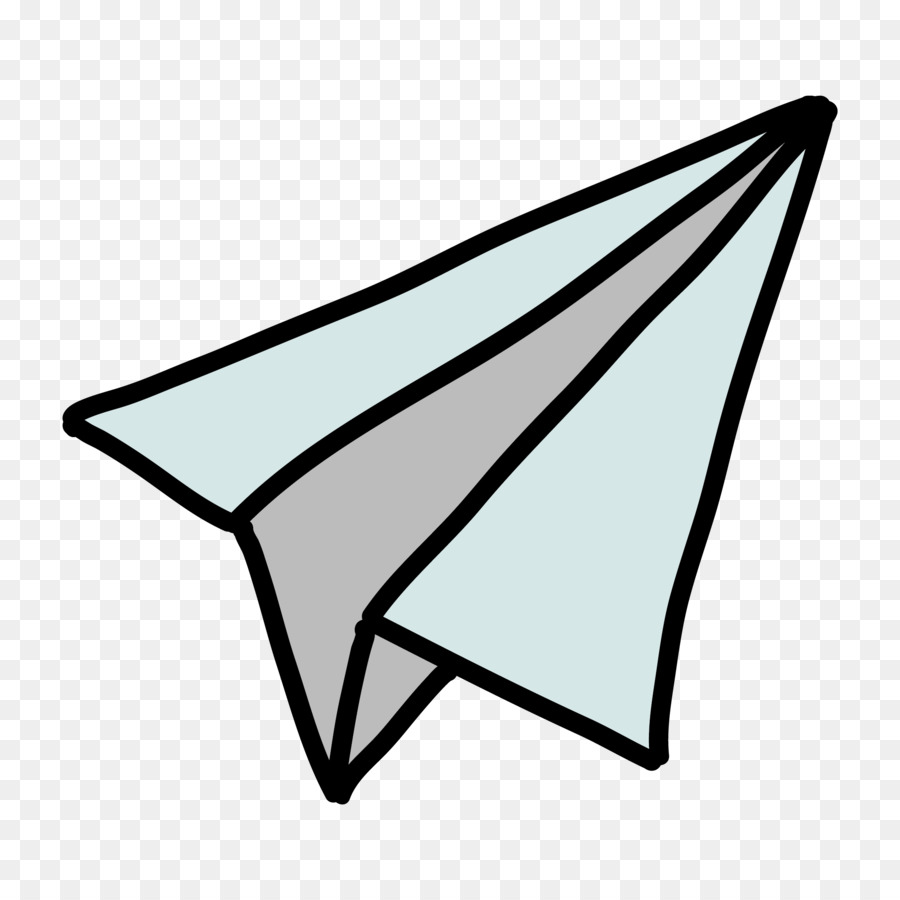
Avion En Papier Dessin / Papier Dessin Anime Avion Canstock Cliquez

Avion En Papier Dessin / Papier Dessin Anime Avion Canstock Cliquez
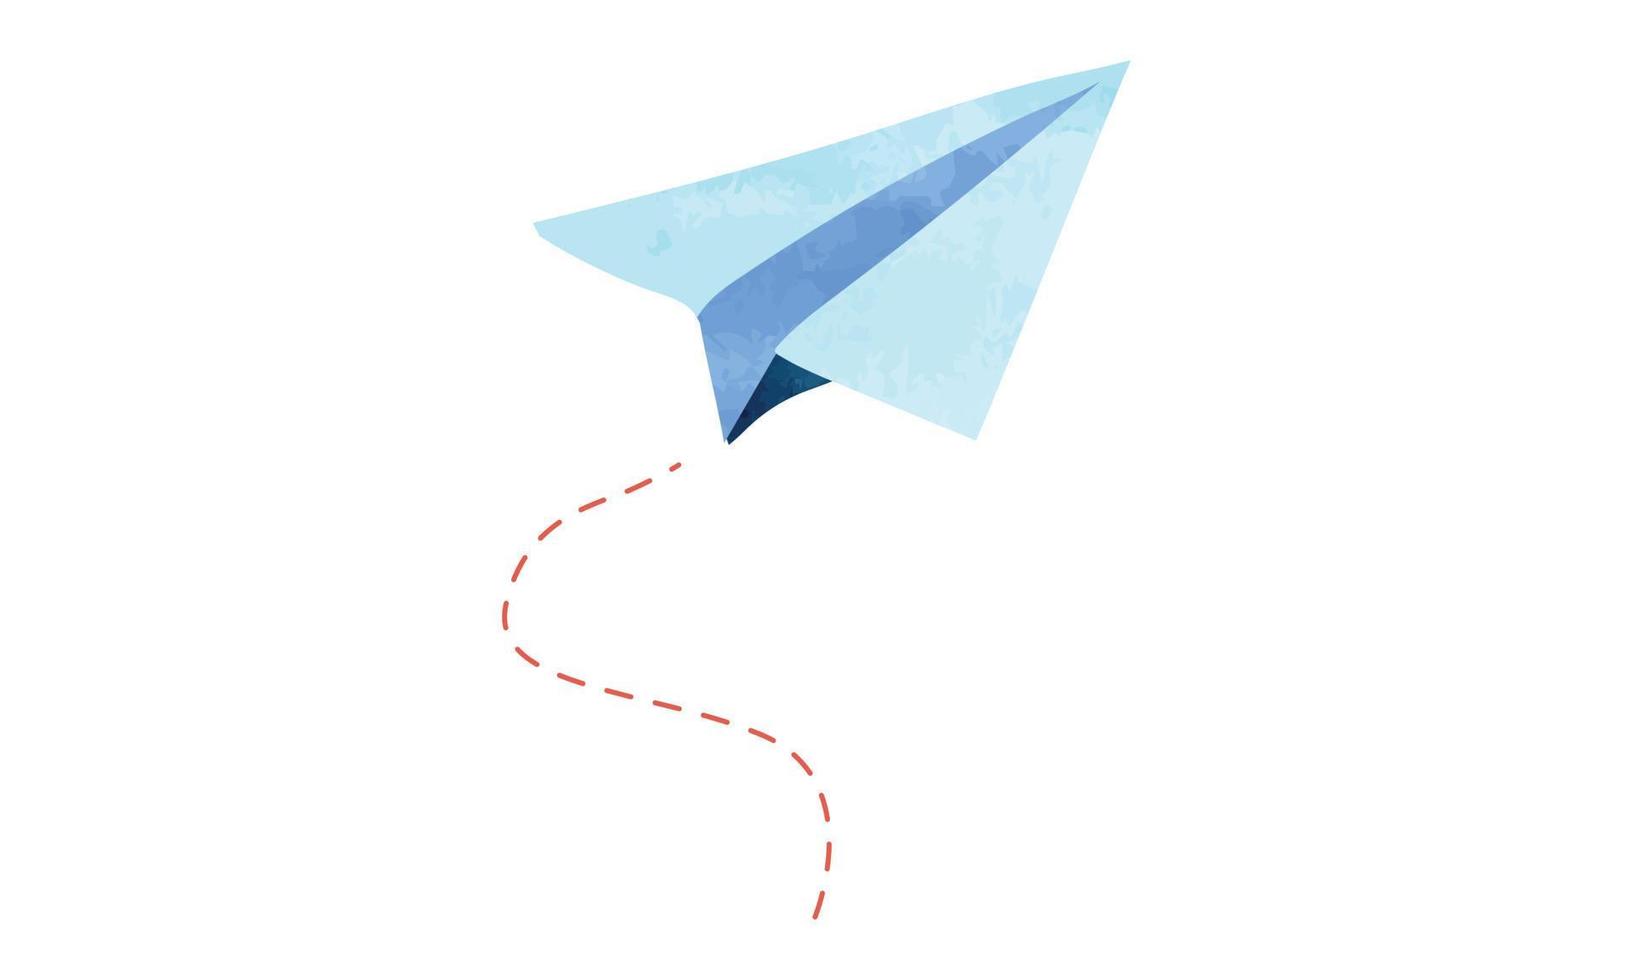
avion en papier bleu dessin aquarelle illustration vectorielle isolée
