How To Master Coller Placo Sur Carrelage For Your Dream Home Renovation
So here's the deal, if you're reading this, chances are you're diving headfirst into a home improvement project. And let's be real, nothing screams "DIY superhero" like mastering coller placo sur carrelage. This isn't just about slapping some plasterboard onto tiles; it's about transforming your space with precision and style. Whether you're a seasoned pro or a newbie armed with YouTube tutorials, understanding the ins and outs of attaching plasterboard to tiles can make all the difference. Stick around, because we're about to break it down step by step.
You see, coller placo sur carrelage is more than just a fancy French phrase—it's a game-changer for anyone looking to revamp their living space. Imagine this: you've got a room that feels outdated, maybe the walls are showing their age, and you're ready to give it a fresh look without breaking the bank. Attaching plasterboard to tiles is one of those underrated techniques that can completely transform the vibe of any room. But hold up, before you grab that drill, there's a lot to consider.
Now, I get it—home renovation projects can feel overwhelming. There's the planning, the prep work, the tools, and oh yeah, the potential for disaster if you don't do it right. That's why we're here. This guide isn't just another how-to article; it's your ultimate cheat sheet for achieving professional results. We'll cover everything from the basics to advanced tips, ensuring you not only survive but thrive in your coller placo sur carrelage journey. Let's dive in!
Understanding the Basics of Coller Placo Sur Carrelage
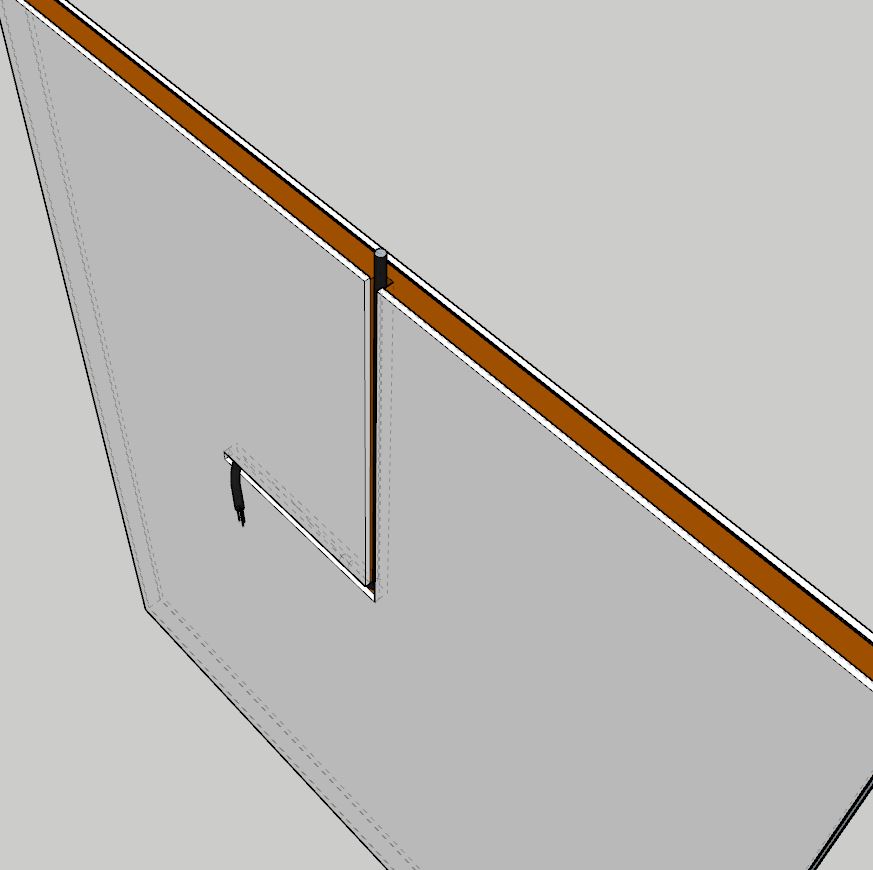
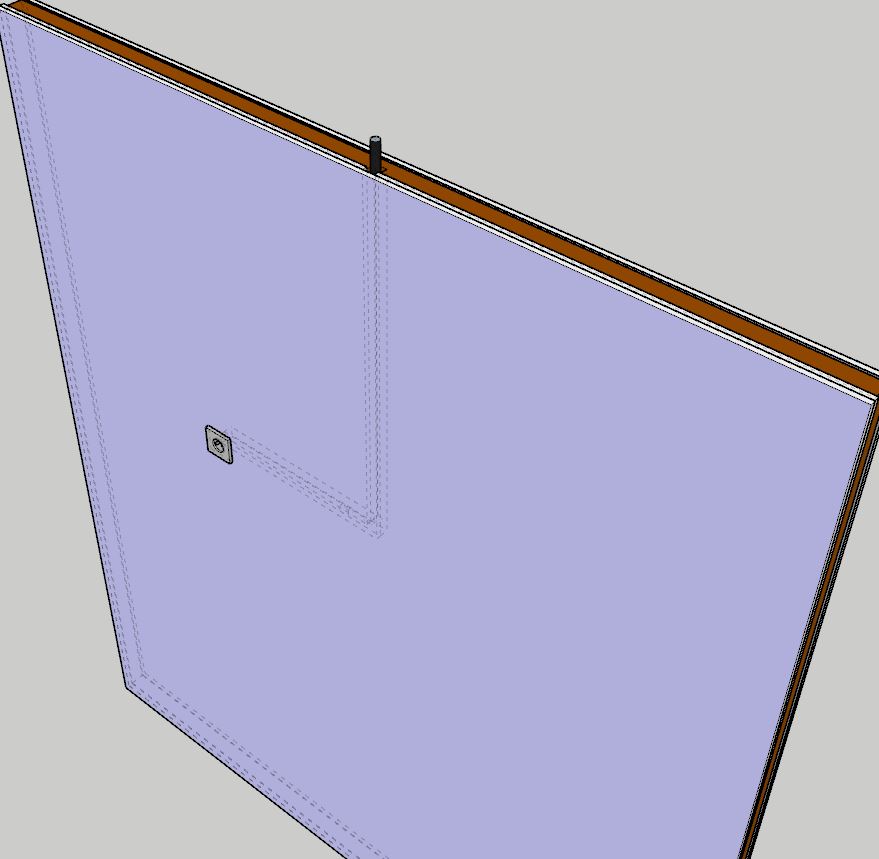
Alright, let's get down to brass tacks. First things first, what exactly does coller placo sur carrelage mean? In plain English, it's all about attaching plasterboard panels to ceramic or porcelain tiles. But wait, there's more to it than meets the eye. This technique isn't just about slapping stuff on walls; it's a methodical process that requires the right materials, tools, and a dash of patience. Think of it as building a solid foundation for whatever you plan to do next—painting, wallpapering, or even installing new fixtures.
Why Choose Coller Placo Sur Carrelage?
Let me tell you, there are plenty of reasons why this method is gaining popularity among DIY enthusiasts and professionals alike. First off, it's a cost-effective way to refresh your space without the hassle of tearing out old tiles. Plus, it's a breeze to work with compared to other wall renovation techniques. Here's a quick rundown of why you should consider coller placo sur carrelage for your next project:
- Time-Saving: Forget about hours of demo work—this method lets you skip the messy part and get straight to the fun stuff.
- Versatile: Whether you're working with small or large spaces, plasterboard can adapt to fit your needs.
- Insulation Benefits: Adding plasterboard can improve soundproofing and even boost thermal efficiency in your home.
- Aesthetic Appeal: Once installed, you've got a clean slate to create the look you've always wanted.
Essential Tools and Materials You Need
Before we jump into the nitty-gritty, let's talk tools. Having the right gear is half the battle when it comes to coller placo sur carrelage. Here's a list of must-haves to ensure your project goes smoothly:
- Plasterboard Panels: Choose the right thickness based on your wall's condition and your intended use.
- Adhesive: A strong bonding agent specifically designed for tiles is crucial. Look for products labeled for coller placo sur carrelage.
- Drill and Screws: Sometimes adhesive alone isn't enough, so having a trusty drill and screws can help secure the panels.
- Level: Ensuring everything is perfectly aligned is key to avoiding future headaches.
- Safety Gear: Don't forget gloves, goggles, and a dust mask to protect yourself during the process.
Choosing the Right Plasterboard
Not all plasterboards are created equal, folks. When it comes to coller placo sur carrelage, you want to opt for panels that are lightweight yet sturdy. Standard plasterboard works great for most applications, but if you're dealing with moisture-prone areas like bathrooms, consider moisture-resistant options. And hey, if soundproofing is a priority, acoustic plasterboard could be your new best friend.
Preparation Steps You Can't Skip
Preparation is everything in the world of coller placo sur carrelage. Skipping this step is like trying to build a house on sand—it might look good at first, but it won't last long. Here's how to prep like a pro:
Cleaning the Surface
First things first, those tiles need to be spotless. Any dirt, grease, or grime can interfere with the adhesive's ability to bond properly. Use a mild detergent and water to clean the surface, then let it dry completely before moving on. Trust me, you don't want to skip this step—it could save you from a lot of trouble down the line.
Checking for Level
Now, grab that level and make sure your walls are as straight as they can be. If you notice any unevenness, you might need to do some minor adjustments before attaching the plasterboard. This is where shims or leveling compounds come in handy. Remember, a level surface means a smoother finish in the end.
Step-by-Step Guide to Coller Placo Sur Carrelage
Alright, let's get to the meat of the matter. Here's a step-by-step breakdown of how to tackle coller placo sur carrelage like a boss:
Step 1: Measure Twice, Cut Once
Take accurate measurements of your walls and mark where each panel will go. Cutting plasterboard might sound intimidating, but with a sharp utility knife and a straight edge, it's a breeze. Just score the board along your measurements, snap it gently, and smooth out any rough edges.
Step 2: Apply Adhesive
Using a notched trowel, apply the adhesive in a uniform pattern across the back of the plasterboard. Make sure to cover the entire surface to ensure a strong bond. Pro tip: don't overdo it—you want enough adhesive to hold but not so much that it squishes out everywhere.
Step 3: Secure the Panels
Press the plasterboard firmly onto the tiles, making sure it's aligned with your marks. Hold it in place for a few seconds to allow the adhesive to start setting. If needed, use screws at strategic points for added stability. Keep checking with your level to ensure everything stays straight.
Common Challenges and How to Overcome Them
Let's face it, no project goes perfectly every time. Here are some common challenges you might encounter with coller placo sur carrelage and how to tackle them:
Dealing with Uneven Surfaces
If your tiles aren't perfectly flat, don't panic. You can use leveling compounds or foam spacers to even things out before attaching the plasterboard. It's a bit more work, but trust me, it's worth it for a professional finish.
Preventing Bubbling or Peeling
Bubbles or peeling can happen if the adhesive doesn't bond properly. To avoid this, make sure your tiles are clean and dry before applying the adhesive. Also, don't rush the process—allow each panel plenty of time to set before moving on to the next one.
Tips for a Professional Finish
So you've got the panels up, but how do you make it look like a million bucks? Here are some tips for achieving that professional finish:
Finishing the Joints
Use joint compound and paper tape to seal the seams between panels. Smooth it out with a putty knife and let it dry completely before sanding. This step might take a few rounds, but the end result will be worth it.
Painting and Texturing
Once everything is dry and sanded, it's time to get creative. Choose a paint or texture that complements your space. Whether you're going for a sleek modern look or something more rustic, the options are endless.
Cost Considerations and Budgeting
Let's talk money, because let's be real, budgeting is key to any successful project. Coller placo sur carrelage is generally more affordable than complete wall renovations, but it's still important to plan ahead. Here's a rough breakdown of costs:
- Materials: Plasterboard, adhesive, screws, and finishing supplies can range from $50 to $200 depending on the size of your project.
- Tools: If you don't already own the necessary tools, renting or purchasing them can add to the cost.
- Time: Factor in the time you'll spend on the project—DIY can save you money, but it might take longer than hiring a pro.
Safety Considerations and Best Practices
Safety first, folks. Here are some best practices to keep in mind while tackling coller placo sur carrelage:
Wear Protective Gear
Always wear gloves, goggles, and a dust mask when cutting and handling plasterboard. The dust might seem harmless, but it can irritate your respiratory system if inhaled.
Proper Disposal
Dispose of any leftover materials responsibly. Check local regulations for proper disposal of plasterboard scraps and adhesive containers.
Conclusion: Your Next Steps
And there you have it, folks—a comprehensive guide to mastering coller placo sur carrelage. Whether you're a seasoned DIYer or a first-timer, this technique can transform your space with minimal effort and cost. Remember, preparation is key, and taking the time to do it right will pay off in the long run.
Now it's your turn. Take what you've learned, grab your tools, and get to work. Don't forget to share your progress with us in the comments below—we'd love to see how your project turns out. And hey, if you found this article helpful, why not share it with a friend who might be tackling a similar project? Happy renovating!
Table of Contents
- Understanding the Basics of Coller Placo Sur Carrelage
- Why Choose Coller Placo Sur Carrelage?
- Essential Tools and Materials You Need
- Choosing the Right Plasterboard
- Preparation Steps You Can't Skip
- Cleaning the Surface
- Checking for Level
- Step-by-Step Guide to Coller Placo Sur Carrelage
- Common Challenges and How to Overcome Them
- Tips for a Professional Finish
- Cost Considerations and Budgeting
- Safety Considerations and Best Practices
Coller placo sur vieux placo abîmé
Coller placo sur vieux placo abîmé

Peuton coller du placo sur du placo ? Découvrez comment faire Label Deco
